
Reviewed · FLORENTINE CRAFT WORKSHOPS
Florence: Painting experience, create your Florentine Lily!
Florence’s most famous flower becomes your souvenir in this hands-on painting class. Under artist and professor Andrea’s guidance, you’ll create a Florentine lily on a gold background using old studio methods, including dusting, tempera painting, and gilding with real gold foil.
I like the tiny group size, limited to four people, because Andrea can give each student close help. I also like that this is not just a paint-and-sip project. You learn where the techniques come from, then use them to make a finished piece you can carry home.
The main consideration is the price: $141.61 per person is a serious sum for a three-hour class. It makes the most sense if you value personal instruction, traditional materials, and a handmade souvenir more than a quick craft activity.
In This Review
- Key points to know before booking
- Why the Florentine lily makes a good painting subject
- Andrea’s small studio class in Florence
- Stage one: learning the tools and old techniques
- Stage two: transferring the lily design to canvas
- Stage three: adding the gold-foil background
- Stage four: painting the lily with tempera
- What the three-hour schedule really gives you
- Is $141.61 a fair price?
- Who will enjoy this class most?
- Practical details that can shape your choice
- Should you book the Florentine lily painting class?
- FAQ
- How long does the Florentine lily painting class last?
- Where does the activity begin?
- Who teaches the painting class?
- Do I need previous painting experience?
- What materials are included?
- Can I take my painting home?
Key points to know before booking
- Create Florence’s lily: Make the city’s familiar red fleur-de-lis style symbol on your own canvas.
- Use real gold foil: Build a shimmering background with a traditional gilding method.
- Learn from Andrea: The artist and painting professor has 25 years of experience.
- Keep the group tiny: Only four participants can join, allowing for individual help.
- No art skills required: Andrea leads you through each stage, from tracing to final paint.
- Take home your work: Your finished canvas becomes a personal Florence souvenir or gift.
Why the Florentine lily makes a good painting subject
The Florentine lily is more than a pretty flower. It is the familiar symbol associated with Florence, appearing throughout the city on signs, souvenirs, decorative details, and civic imagery. Here, you turn that local emblem into something you have made yourself.
That gives the class a useful connection to place. You are not painting a generic vase or copying an anonymous still life. You are working with a symbol that belongs to Florence, then choosing the color for your own lily. The result can be traditional, personal, or somewhere in between.
The gold background also gives the finished work a strong visual character. Even if your painting skills are modest, the gold foil helps the lily read as a decorative object rather than a basic beginner sketch. It is the kind of souvenir that can hang on a wall, sit in a frame, or serve as a thoughtful gift.
I would not book this expecting a museum lecture or a full course in Renaissance painting. The class focuses on one specific project. That focus is useful because you have a clear goal and enough time to complete it in three hours.
More artisan tables in Florence:
- Florence: Perfume Masterclass and Sensory Experience
★ 4.7 · 463 reviews - Perfume Masterclass in Florence: Make your Own Personal Fragrance
★ 4.5 · 253 reviews - Handmade Tuscan Ceramics Masterclass in Montelupo
★ 5.0 · 205 reviews
Andrea’s small studio class in Florence
Andrea teaches in his studio at 22 Via Enrico Petrella. When you arrive, buzz the doorbell marked Bacalini. He will let you in, and the studio is on the third floor with an elevator.
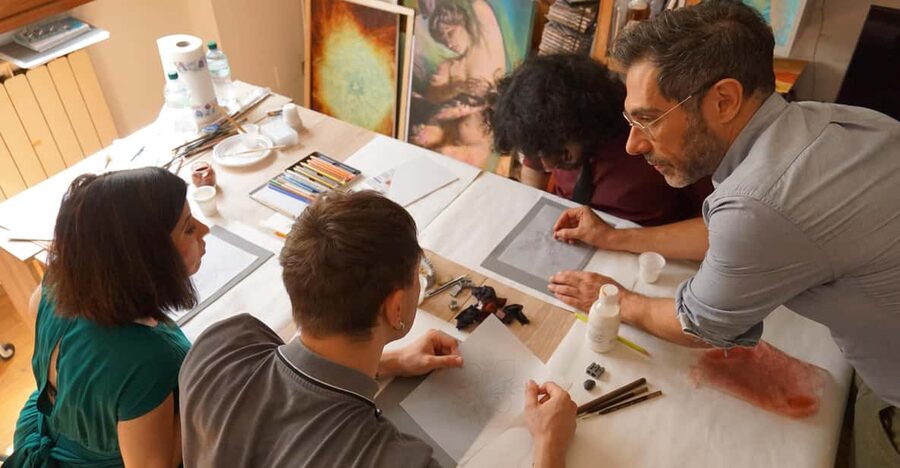
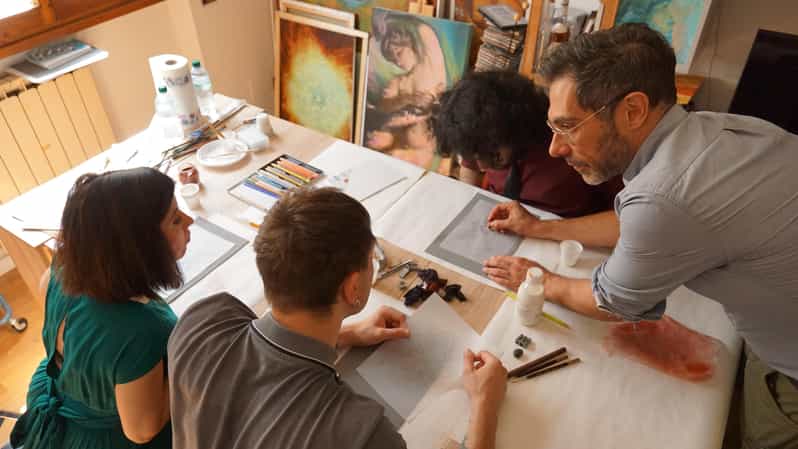
The group is limited to four participants. That detail matters. Painting requires frequent small corrections, and a class of four gives Andrea a fair chance to check your work at each stage. You are not left trying to follow a demonstration from the back of a crowded room.
Andrea has 25 years of experience as an artist and painting professor. His role here is both teacher and guide. He explains the methods before you begin, then takes you through the process step by step. The strongest praise for the class centers on his patience, encouragement, and ability to make traditional art feel accessible.
That approach should suit you if you are curious but nervous about your ability. You do not need to arrive with drawing experience, a steady hand, or knowledge of Italian art techniques. You only need to be willing to follow instructions and work carefully.
Classes are offered in English, Spanish, and Italian. Check the available starting times when booking, since the activity lasts three hours and does not list one fixed departure time.
Stage one: learning the tools and old techniques
Andrea begins by explaining the painting methods used in the class and where those methods come from. He also introduces the materials, which include the canvas, pencils, brushes, glue, tempera paints, props, and gold foil.
This introduction is important because the class is built around process. You are not simply handed a design and told to color it in. You learn why each material is used and how the steps fit together.
The work is practical from the start. You will handle the tools, make marks, and begin shaping the image yourself. That makes the class a good choice for someone who wants to learn through doing rather than sitting through a long explanation.
You should also expect to work at a patient pace. The final image may look simple, but the order of the steps matters. A rushed outline or uneven application of materials can affect the later stages, so Andrea’s close instruction is part of the value.
Stage two: transferring the lily design to canvas
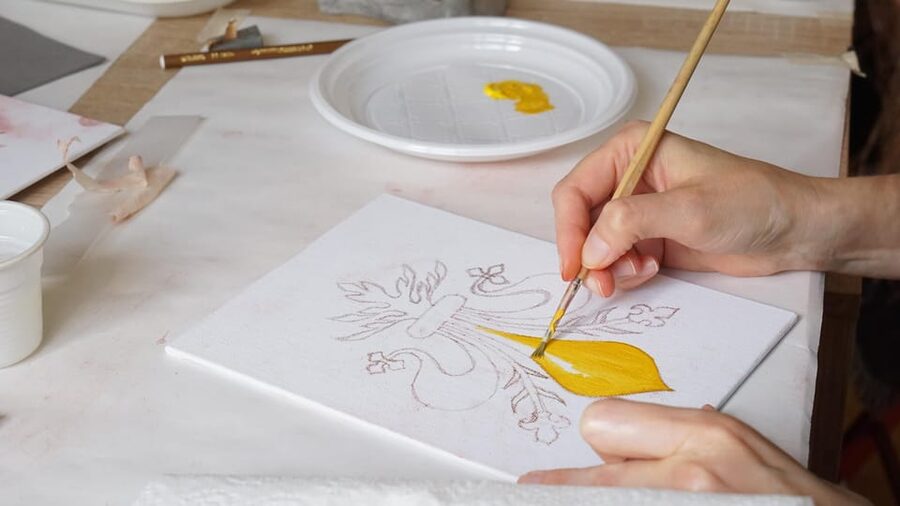
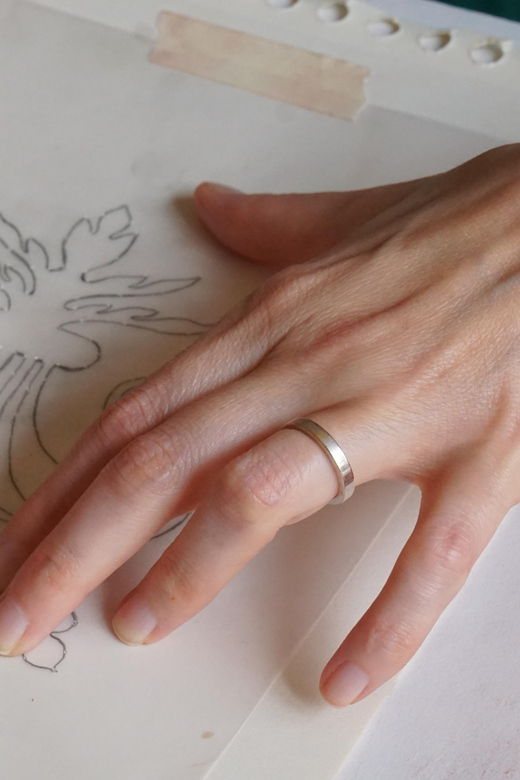
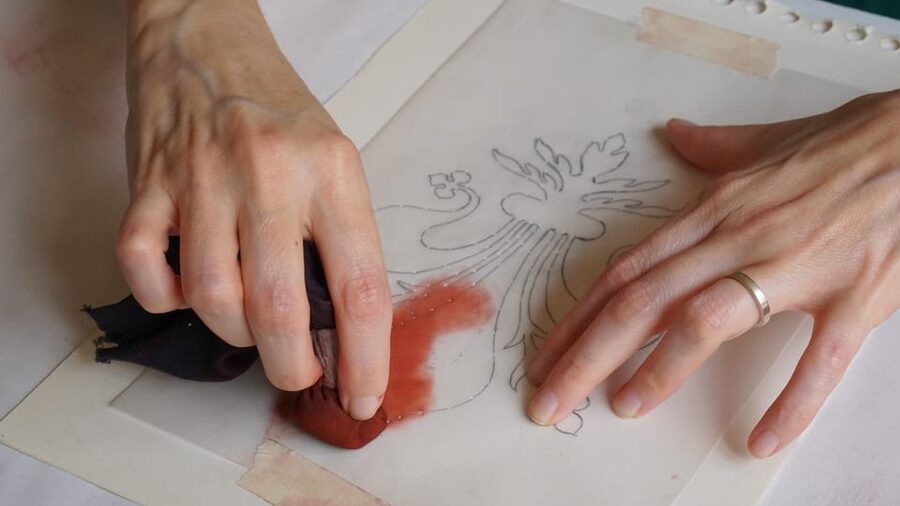
The first main task is to use a small prop to carve the lily shape onto the canvas. You then trace the image with a dusting technique and connect the resulting dots in pencil.
This method gives you a reliable outline without requiring you to draw the lily freehand. That is good news if you enjoy art but do not trust your drawing skills. You still take part in creating the image, but the structure helps keep the flower recognizable.
The dot-transfer method also connects your project with older studio practices. It is a small detail, but it changes the feeling of the class. You are learning a technique with a history rather than simply using a modern stencil.
At this point, you may notice that the class calls for care more than speed. The outline forms the basis for the gold and paint that follow. Andrea can help you understand how much pressure to use and where the design needs to remain clear.
A different way to spend the same Florence day:
- Florence: Skip-The-Line Uffizi Gallery Timed Entry Ticket
★ 4.5 · 27,832 reviews - Tuscany Day Trip from Florence: Siena, San Gimignano, Pisa and Lunch at a Winery
★ 5.0 · 21,634 reviews - Florence: Timed Entrance Ticket to Michelangelo’s David
★ 4.6 · 16,983 reviews - Florence: Michelangelo’s David Skip-the-Line Entry Ticket
★ 4.5 · 12,764 reviews
Stage three: adding the gold-foil background
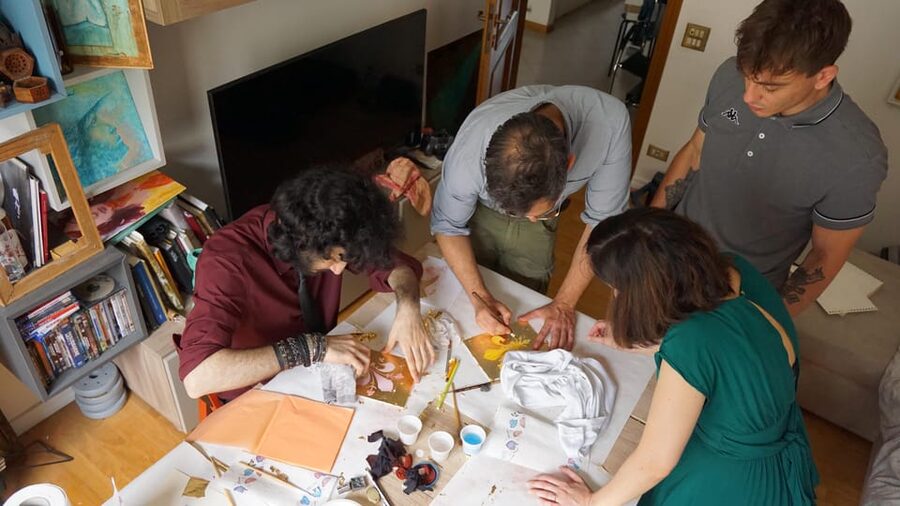
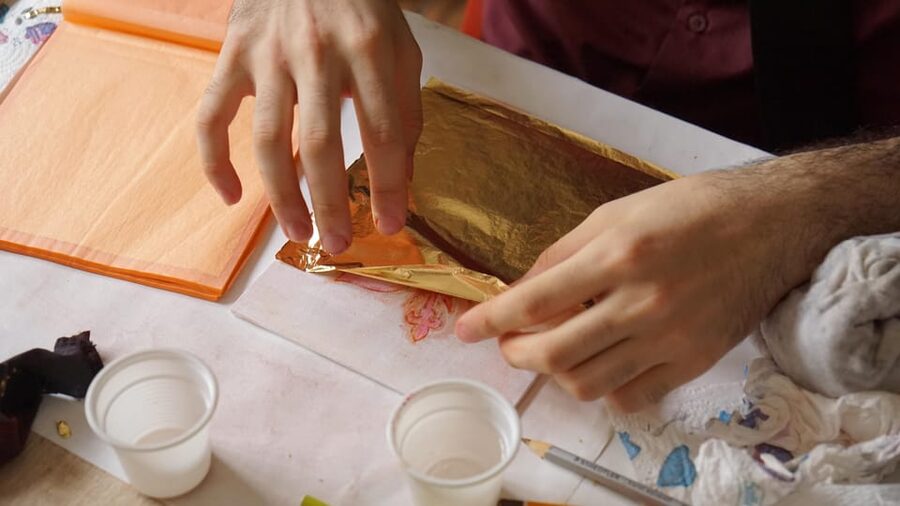
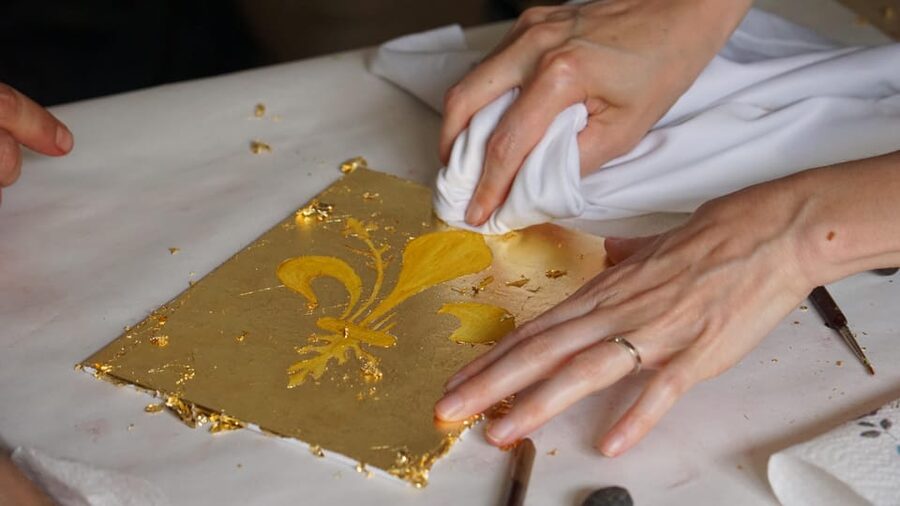
The gilding portion is the most unusual part of the activity. You place gold foil over the painting to create the background, then remove the foil from within the lily’s edges. The result is a gold field surrounding the flower.
This technique gives the canvas its special look. The gold catches the light and frames the lily in a way that ordinary paint cannot. It also gives you a chance to try a material that most people do not use in everyday art projects.
The gold foil is not just a decorative extra. It is the point where the painting begins to resemble a traditional decorative panel. You can see why the order of the work matters: the background must be handled before the lily receives its final color.
This step may be the most fiddly part of the class. Gold foil is thin, and the edges of the lily need care. Andrea’s guidance is especially useful here. His patient teaching helps turn a delicate process into something manageable instead of frustrating.
If you are looking for a perfectly polished professional painting, remember that your hand will remain part of the result. Small variations are natural. That is also the charm of taking home something made during your time in Florence.
Stage four: painting the lily with tempera
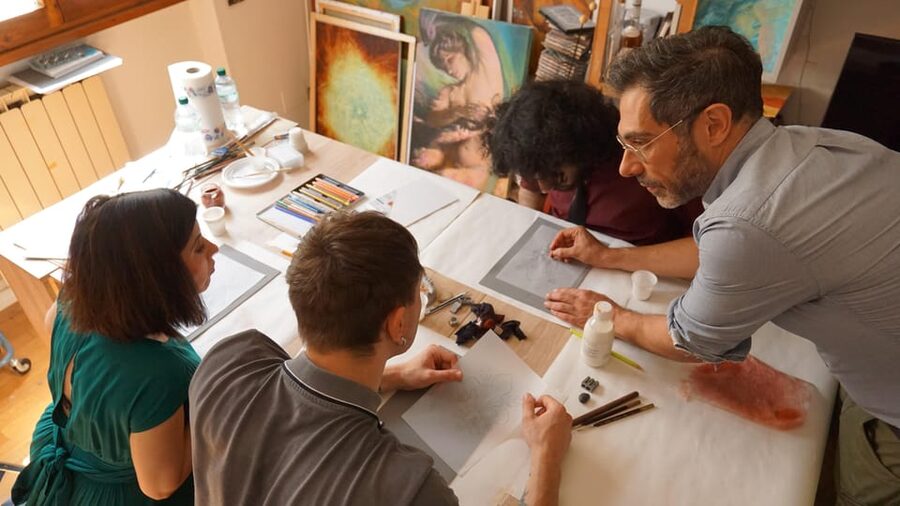
Once the gold background is ready, you paint the lily in the color of your choice using tempera. This gives you the clearest chance to make the design your own.
Your choice of color can keep the work close to Florence’s familiar symbol or give it a more personal look. Andrea provides the method and guidance, but the painting is not meant to be identical for every participant.
Tempera is well suited to a guided class because it allows you to build the image with control. You can focus on staying within the design and applying the paint carefully rather than managing a complicated set of professional materials.
The final step is satisfying because the separate stages come together. The transferred outline, gold background, and painted flower now read as one finished image. You leave with a canvas that shows both the local symbol and the choices you made during the class.
What the three-hour schedule really gives you
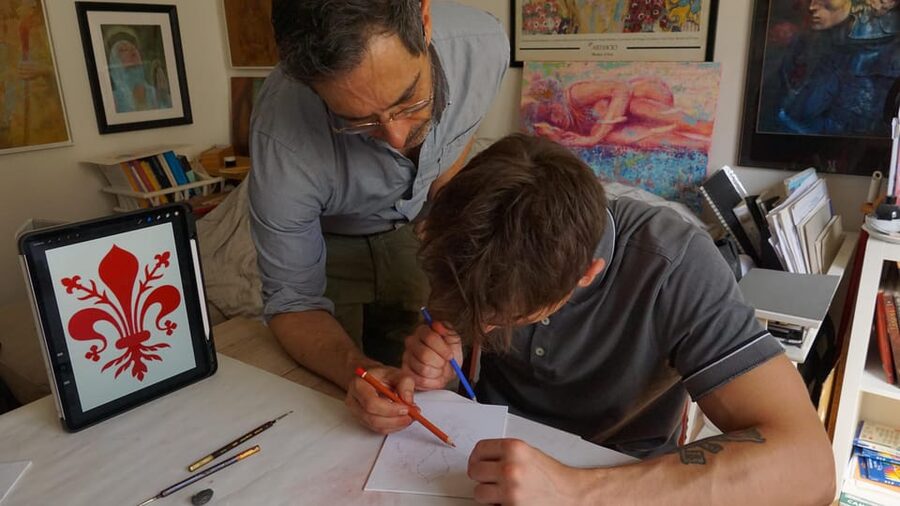
Three hours is long enough for a proper project, but short enough to fit into a Florence sightseeing plan. You will need to protect the full block of time, since the work is completed in several stages and cannot be treated as a quick stop between major attractions.
The schedule also leaves room for instruction. Andrea explains the methods, demonstrates what to do, and helps you complete each part. A shorter session might let you paint a souvenir, but it would not offer the same chance to understand the techniques.
This is a seated studio activity rather than a city walking tour. You will not be moving between monuments or seeing a long list of sights. Its value comes from slowing down and making something with your hands after spending time among Florence’s churches, museums, and busy streets.
The activity begins and ends at the same studio. There is no transportation included or needed as part of the class. Plan your route to Via Enrico Petrella in advance, then use the Bacalini doorbell when you arrive.
Is $141.61 a fair price?
At $141.61 per person, this class costs more than a basic tourist craft session. The price includes three hours of instruction, all materials, and the finished painting you create.
The strongest value comes from the small group. With no more than four participants, you are paying for direct access to Andrea rather than a large demonstration where help may be limited. His 25 years of experience and teaching background add to that personal instruction.
The materials also matter. You are not bringing your own canvas, paints, brushes, glue, or gold foil. The class supplies everything needed for the project, including the specialized items used for the gilding technique.
I would see the price as reasonable for a special-occasion activity, especially if you want a creative experience rather than another purchased souvenir. It is less appealing if you simply want the cheapest way to make a small painting or if you are mainly interested in seeing Florence’s famous sights.
The finished work has value beyond the class itself. You can keep it as a reminder of your trip or give it to a friend or family member. Still, you should book for the instruction and the experience, not just for the market value of the canvas.
Who will enjoy this class most?
This experience suits adults, older children, couples, families with children aged 10 and above, and solo visitors who want a quiet creative break. It works particularly well for people who like art but do not have formal training.
You may also enjoy it if you have already visited Florence’s major sights and want an activity with a slower pace. The class lets you connect with the city through its symbol and a local artist’s teaching, without needing to spend another afternoon in a museum.
It is a good choice for someone who wants a meaningful gift. A finished Florentine lily has a clear connection to the city, and the fact that you made it yourself makes it more personal than a shop-bought item.
I would be less likely to recommend it to a visitor with only a few hours in Florence, someone who dislikes careful handwork, or anyone seeking a broad survey of Italian art. The project is focused, and the three-hour commitment is real.
Practical details that can shape your choice
The class is not suitable for children under 10. Older children can join, but the work includes several careful steps and the use of art materials, so an adult should consider how well each child handles a structured project.
Andrea teaches in English, Spanish, and Italian. Choose the language that will let you follow instructions most easily, since the sequence of tracing, gilding, and painting is central to the activity.
You can cancel up to 24 hours before the class for a full refund. A reserve-now, pay-later option is also available, which can help if your Florence schedule is still taking shape.
The studio has an elevator, and the class returns to the same meeting point at the end. Since no hotel pickup is included, you are responsible for reaching the address at the selected starting time.
Should you book the Florentine lily painting class?
Book it if you want personal instruction, a small group, and a handmade souvenir tied closely to Florence. Andrea’s patient, encouraging teaching style is a major part of the appeal, and the gold-foil work gives the class a technique you are unlikely to try during ordinary sightseeing.
Think twice if the price feels high for a craft or if your schedule cannot spare three unhurried hours. You will get the most from this activity when you treat it as a lesson and a creative memory, not as a quick way to produce a flawless painting.
For an art-minded visitor, a couple seeking a shared activity, or anyone who prefers making a souvenir to buying one, this is a strong Florence choice. You leave with a lily, a story about how it was made, and a better feel for the hands-on work behind traditional painting methods.
FAQ
How long does the Florentine lily painting class last?
The class lasts three hours. Check the available starting times when booking.
Where does the activity begin?
It begins at 22 Via Enrico Petrella in Florence. Buzz the doorbell marked Bacalini, and Andrea will open the door. His studio is on the third floor and has an elevator.
Who teaches the painting class?
Andrea leads the class. He is an artist and painting professor with 25 years of experience.
Do I need previous painting experience?
No. The activity is suitable for beginners, and Andrea guides you through the painting step by step.
What materials are included?
The class provides the canvas, pencils, brushes, glue, tempera paints, props, and gold foil needed to create the Florentine lily.
Can I take my painting home?
Yes. You can take home the finished painting as a Florence souvenir or give it to a friend or family member.
Latest additions around Florence
- Florence: Cathedral Tour & Brunelleschi’s Dome Climb Ticket★ 5.0 · 3 reviews
- Palatina Gallery and Pitti Guided Tour in Florence★ 5.0 · 3 reviews
- Florence Uffizi Gallery Skip-the-line Tour w Art Historian Guide★ 5.0 · 3 reviews
- Private Tour: Pisa and Lucca from Florence★ 5.0 · 3 reviews
- San Gimignano Bike Tour (SOFT)★ 4.5 · 3 reviews
- Florence: Tour of Florence by rickshaw★ 5.0 · 3 reviews
- Center of Florence by golf cart★ 5.0 · 3 reviews
- From Firenze | Chianti day tour in a classic car★ 5.0 · 3 reviews
Florentine Craft Workshops, compared.

Perfume Masterclass in Florence: Make your Own Personal Fragrance
Read our review →
Handmade Tuscan Ceramics Masterclass in Montelupo
Read our review →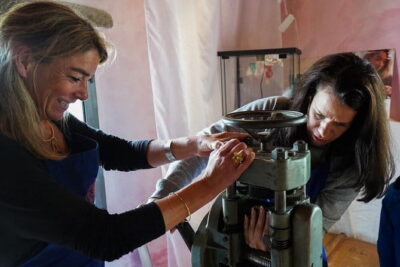
Private jewelry class in Florence, Tuscany, Italy (4 hours)
Read our review →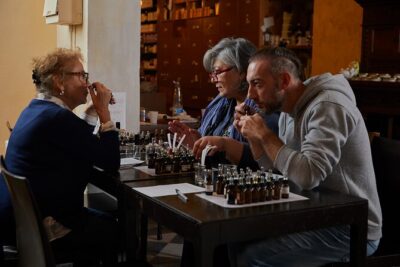
Perfume Making Workshop in the Heart of Florence
Read our review →
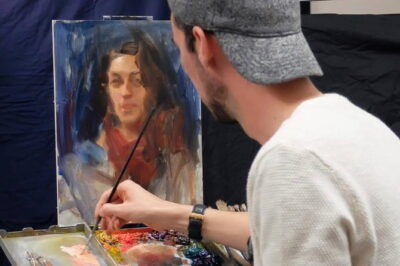
Learn to Sculpt or Paint in a Private Florence Art Studio
Read our review →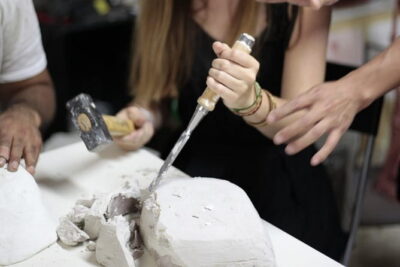
Browse the lists this tour appears in